← World Vault
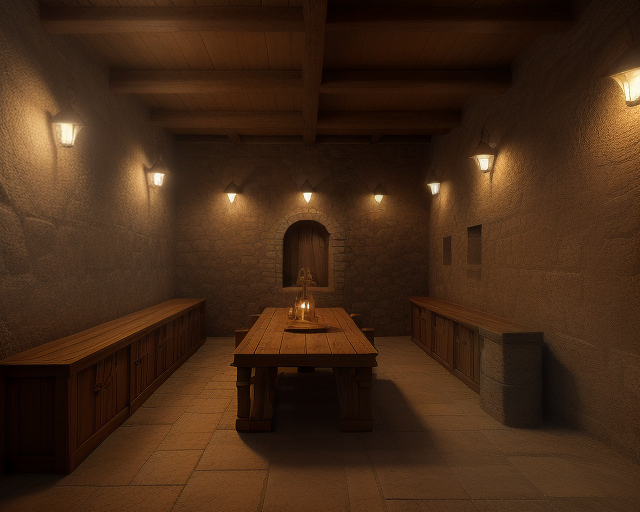
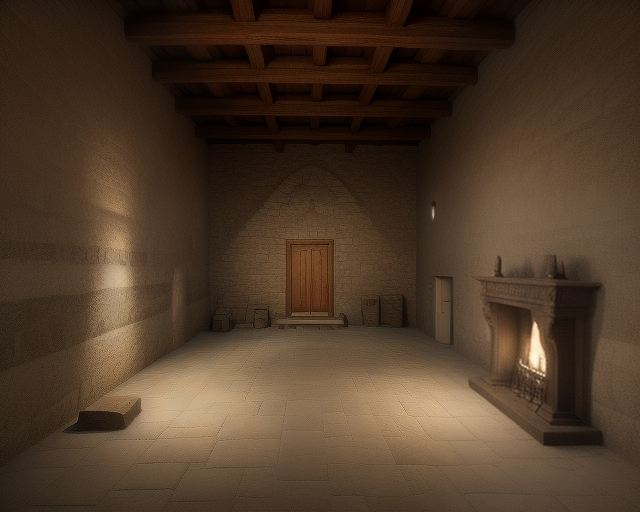
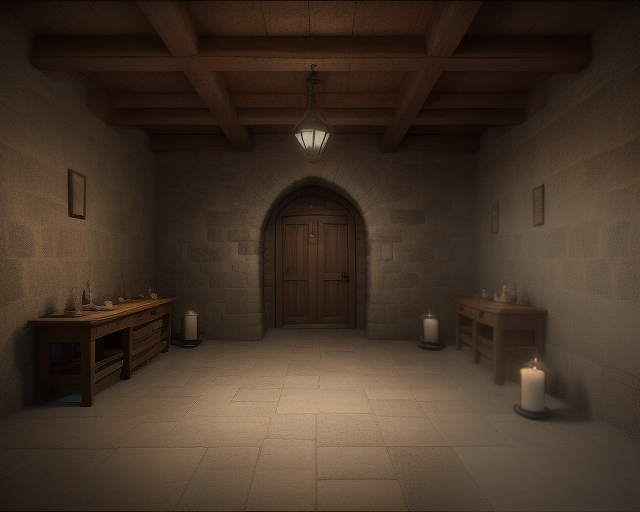
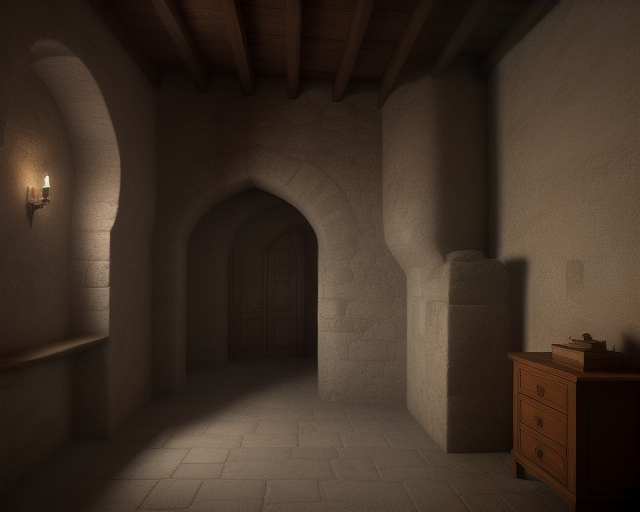
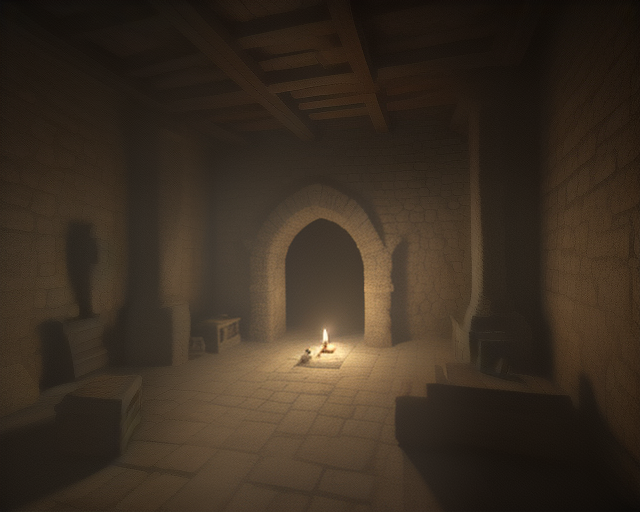
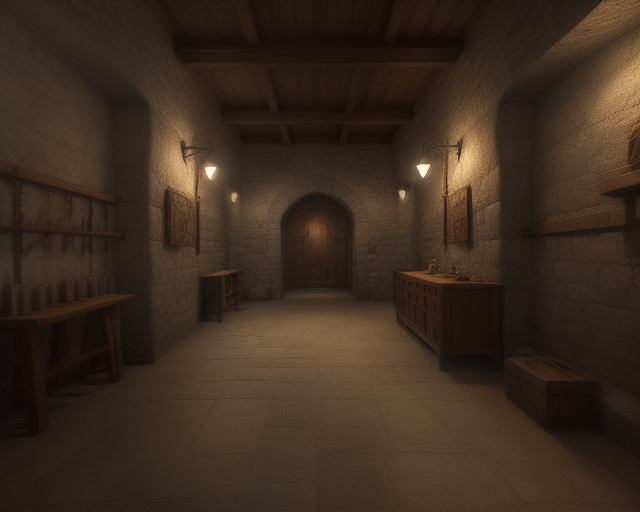
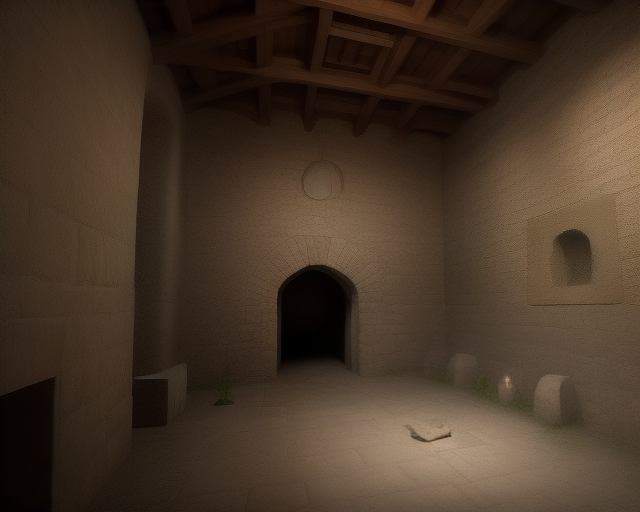
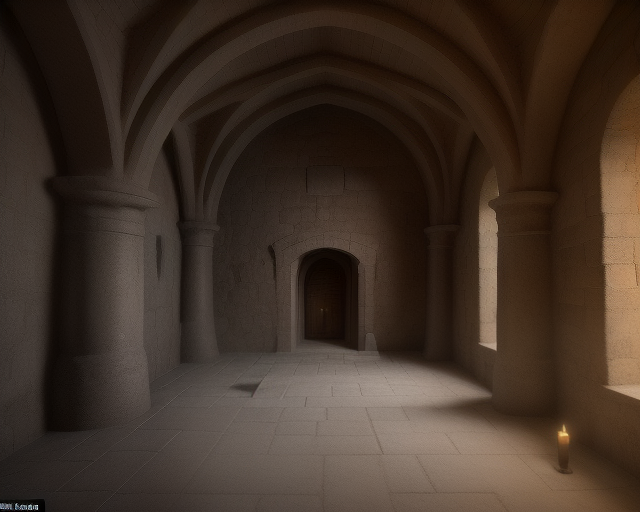
dungeon
Olde Island Fortress
bf1-oif • bf1-oif • Morgansfort: The Western Lands Campaign
Two-level dungeon near Morgansfort, good for beginners. Collapsed bridge, island ruins, barbarian chieftain tomb (room 28, 4 variants).
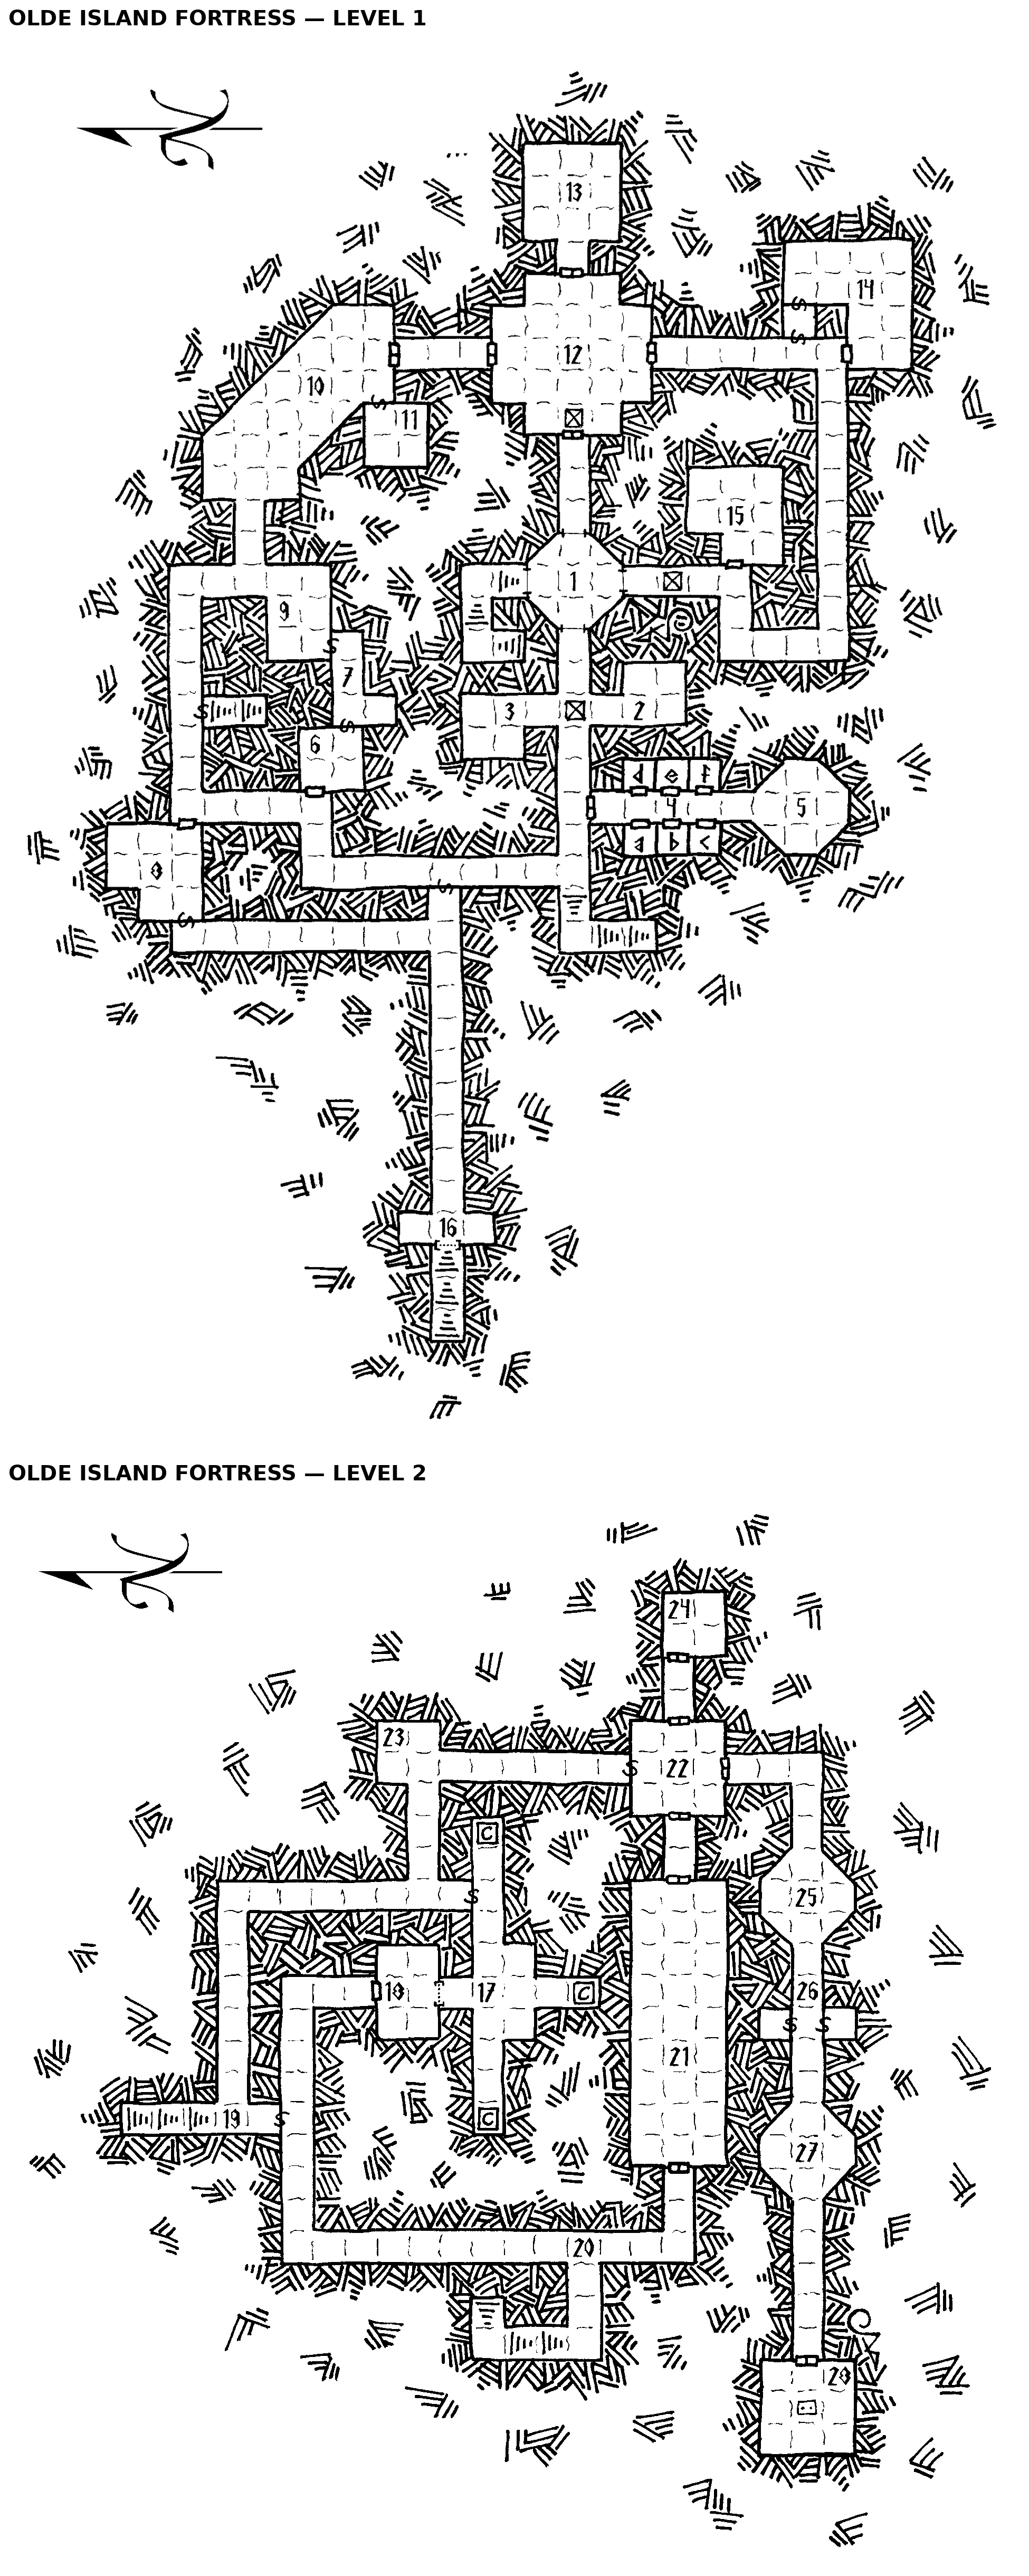
BF1 gives this dungeon no wandering-monster table; encounter checks are specified per-room (e.g. room 1: roll an encounter check the first time it is entered). Dungeon maps are on BF1 PDF pp.33-34 (not yet attached).
Maps: Levels 1–2 extracted from the BF1 PDF (pp.33–34), stacked Level 1 above Level 2.
IMAGE
CHILDREN • 37
1. Entrance Room room
Roll an encounter check the first time this room is entered. This room appears to be empty. The floor shows signs of substantial traffic between the stairs and the western hallway. If the party is noisy, the wolves in room 2 will growl loudly (if they are there; see below), but they won't attack or enter the room. If the party attempts to go down the western hallway, the wolves will wait until an adventurer comes in sight before attacking... but of course at that point at least one adventurer is standing on the pit.
2. Wolf Lair room
6 wolves lair in this room. There is a 75% chance they are not in the room in the daytime, 50% at night. They growl when they hear anyone in room 1, but if the party is quiet the wolves will ignore them. Of course, the wolves know to jump the pit trap in the hallway. If the wolves are present, they will certainly attack. If they are not, read or paraphrase the following: The floor of this room is littered with small bones and scraps of fur, some of which has been pushed together to form nests. A rank animal odor fills the room. The litter is noisy to walk on; a Thief has a 20% lower chance of Moving Silently in this room. Beneath the mess in the southwestern corner of the room is a loose stone (found as a secret door); underneath is a sack containing 548 sp. The sack is old and rotten and will tear open noisily if anyone attempts to pull it out. 6 Wolves: AC 13, HD 2, #At 1 bite, Dam 1d6, Mv 60', Sv F2, ML 8, XP 75 ea. HP 7 ☐☐☐☐☐ ☐☐ 9 ☐☐☐☐☐ ☐☐☐☐ 5 ☐☐☐☐☐ 9 ☐☐☐☐☐ ☐☐☐☐ 11 ☐☐☐☐☐ ☐☐☐☐☐ ☐ 7 ☐☐☐☐☐ ☐☐
3. Stirge Nests room
Five nests made of dried mud dot the north wall of this room, all higher than eye level. You hear a strange, high-pitched mewling. A strong, foul odor of dung fills the air, and piles of dung are visible on the floor, mostly clustered around the nests. Five adult stirges nest in this room. A total of 13 noncombatant stirge "chicks" are in the nests, but other than making the mewling noises they do not affect this encounter. If the stirges are surprised, they will simply not act for one round; for the adventurers to make use of a surprise condition in their favor, they will have to attack the nests as soon as they see them. Stirges like shiny things, and these have collected the following: • A jade statuette of an Elven woman dancing, worth 130 gp • A gold brooch in the shape of a lizard, worth 120 gp • A silver bracelet engraved in a "knotwork" pattern, worth 60 gp 20 • A man's gold earring, worth 50 gp • Two identical silver necklaces, worth 90 gp each • A silver letter opener with a wooden handle shaped like a dragon's head, worth 150 gp. These items are scattered along the north wall, and as they are tarnished and the floor is littered with dung, they will
4. Cells room
This fifty foot long corridor is lined with cell doors, three on each side. The iron-barred door from the third cell on the right lies twisted in the middle of the corridor floor. At the far end, the corridor opens into a larger space.
4a. First Cell room
The room is empty save for a pile of moldy straw on the floor and a set of corroded manacles bolted to the far wall. A rotting leather bag lies burst open on the floor next to the pile of straw. Several gold coins can be seen scattered on the floor near the bag. The rusted iron-grilled door to this room is unlocked. There are 100 gp in the bag and on the floor. Growing under and around the bag is a patch of yellow mold, automatically noticeable if the player character is looking out for trouble. Yellow Mold: AC nil, harmed only by fire, HD 2*, #At spores, Dam save vs. Death Ray or take 1d8 points of damage per round for 6 rounds, Mv 0', Sv NM, ML n/a, XP 100 HP 13 ☐☐☐☐☐ ☐☐☐☐☐ ☐☐☐
4b. Second Cell room
The room is empty except for a pile of moldy straw on the floor, a battered metal food dish, and a set of broken chains set into the opposite wall. The corroded iron-grilled door to this room is unlocked. The door is rusted shut, requiring a die roll of 1 on 1d6 to open (adjusted by Strength as normal). Lying under the metal food dish is a key to cell 4e. There is nothing else of value in this room.
4c. Third Cell room
This room is missing a door, as mentioned above. It appears that the door to this room was ripped from its hinges by great force. Inside the dank room is a pile of straw and several large bones, apparently quite old. They have marks on them such as would be made by large, blunt teeth. Nothing else here is of value.
4d. Fourth Cell room
This cell smells of death. A heap of bones in various states of decomposition rests against the far wall. The door to this room is unlocked but stuck (roll a 1-2 on 1d6 to open, adjusted by Strength). Once the door is opened and a 21 character steps inside the room, the bones will begin to move. From under the pile of bones, the character will be ambushed by a bone- white giant crab spider. Giant Crab Spider: AC 13, HD 2*, #At 1 bite, Dam 1d8+poison, Mv 40', Sv F2, ML 7, XP 100 HP 10 ☐☐☐☐☐ ☐☐☐☐☐ Also beneath the pile of bones are two Potions of Healing, a Potion of Poison, and a Potion of Delusion (appears to be a potion of speed).
4e. Fifth Cell room
This room is similar to the others; however, in the far corner is a damp wooden barrel. The door to this room is locked; the key is in room 4b. The barrel contains very stagnant water. At the bottom of the barrel is a Ring of Protection +1, buried in a thin layer of slime.
4f. Sixth Cell room
The door to this room stands open. The floor of this cell is lined with old, damp straw. This room contains nothing of interest.
5. Torture Room room
This room is furnished with torture implements, including a rack, a brazier, and an iron maiden. Manacles hang from the far walls, while the nearer walls are festooned with hand-held torture devices like whips, flails, branding irons, knives, and pincers. All the metal implements are rusty, and the wooden items such as the rack appear rickety. Anyone attempting to hear noises will detect a faint rustling noise coming from somewhere in the room. A spitting cobra lairs in this room, entering and exiting through a wide crack in the bottom of the door to area 4, above. It will be hiding beneath the rack when the room is entered. Spitting Cobra: AC 13, HD 1*, #At 1 bite or 1 spit, Dam 1d4 + poison bite, blindness spit, Mv 30', Sv F1, ML 7, XP 37 HP 5 ☐☐☐☐☐
6. Goblin Hideout room
An armed party of four goblins are in this room, resting. They are scouting the island fortress for their chieftain, who wants to move their lair here; however, the kobolds have put up a fairly effective defense, splitting the goblin party up in the process. These goblins are in a foul mood, but unless they outnumber any opposition at least two to one, they will try to flee rather than attack. 4 Goblins: AC 14, HD 1-1, #At 1 spear, Dam 1d6, Mv 20', Sv F1, ML 7, XP 10 ea. HP 2 ☐☐ 6 ☐☐☐☐☐ ☐ 5 ☐☐☐☐☐ 3 ☐☐☐
7. Secret Hallway room
This short, dark hallway shows signs of light traffic. A sturdy wooden chest rests on the floor in the center of the alcove. There are several sets of humanoid footprints on the floor of the hallway, with the most obvious tracks around the chest. The chest is locked, but not trapped; the key to this chest is carried by the largest goblin in room 9. Inside the chest is 84 cp and 300 ep.
8. Rogue Orcs room
5 rogue male orcs are hiding out in this room. They know about the secret door, and if they hear the party approaching or trying to force the door they will exit through the secret door and try to sneak up behind the adventurers. They have been using the fighting between the kobolds and goblins as an opportunity to loot the rest of the dungeon. 5 Orcs: AC 14, HD 1, #At 1 longsword, Dam 1d8, Mv 30', Sv F1, ML 8, XP 25 ea. HP 4 ☐☐☐☐ 3 ☐☐☐ 5 ☐☐☐☐☐ 7 ☐☐☐☐☐ ☐☐ 4 ☐☐☐☐ The orcs have the following treasure in a pair of large sacks: 2,182 sp, 463 gp, two matching gold flagons worth 80 gp each or 200 gp as a set, and a necklace worth 300 gp. 22
9. Goblin Lair room
The other part of the goblin party described in area 6 is here. Note that the largest goblin carries the key to the chest in area 7. He does not know what the key unlocks, as he took it away from another goblin, who in turn found it somewhere on the floor. 4 Goblins: AC 14, HD 1-1, #At 1 spear, Dam 1d6, Mv 20', Sv F1, ML 7, XP 10 ea. HP 3 ☐☐☐ 2 ☐☐ 7 ☐☐☐☐☐ ☐☐ 2 ☐☐
10. Grand Hall room
Elaborately carved columns parade down the center of this marble-paved hall. In the center of this room is a badly damaged stone statue, which appears to have originally depicted a man carrying a large spear with the point angled downwards; the upper parts of the statue have been smashed, and fragments of marble litter the floor nearby. At the base of the ruined statue is a large wooden chest. The chest is closed but unlocked, and is trapped. When the lid is opened, the statue will release its spear, which is positioned over the chest. It will do 1d6 damage to the character opening the chest if a save vs. Death Ray fails. The chest contains 698 cp, 273 ep, a rhodochrosite worth 10 gp, a sardonyx worth 50 gp, and a tourmaline worth 100 gp.
11. Secret Room room
This small room is thick with dust and cobwebs. There are several rotting cloth sacks stacked in the corner, spilling their verdigrised copper and tarnished silver contents onto the floor. 763 cp and 284 sp are scattered around, requiring a full turn to pick up and put into bags.
12. Meeting Room room
A heavy, long table and ornate chairs, badly deteriorated, occupy the center of this room. Discolored patches on the wall seem to indicate that many paintings once hung there. In front of the west door there is a pit trap leading to room 17 on the second level. This room is basically empty, but roll an encounter check the first time it is entered.
13. Storage Room room
This dusty chamber contains a variety of desks, chairs, tables, stools, benches, and racks, as well as a number of framed paintings, piled in the center of the room. This room also contains a potentially deadly trap. Any character walking normally into the room will raise a cloud of fine dust (taking care to walk slowly will allow this to be avoided). If this happens then anyone who enters carrying a lit torch or lantern will ignite the dust, creating a fireball-like effect. All within 20’ of the ignition source will take 2d6 points of fire damage immediately (save vs. Death Ray for half damage). The contents of the room will then catch fire and burn fiercely, making the room a deadly inferno of flame and smoke, doing 1d8 points of damage to any character remaining in the room every round, starting 1d4 rounds after the dust is ignited. The fire will last 2d4 turns once ignited. Assuming the trap is avoided, the characters will be able to investigate the room contents. The paintings stored here once hung in the Meeting Hall (above). They are badly damaged by age and dampness, but some of the pictures can still be recognized; they depict pastoral and hunting s
14. Kobold Lair room
A clan of kobolds lives in this room; there are 18 adult males and 11 adult females here. Any kobolds met as a result of random encounters must come from this pool, as there are no other kobold clans on the island. Due to the current hostilities with the goblins, the females do not leave the lair, but they will fight as effectively as the males if the lair is invaded. Piles of furs and filthy cloth garments (mostly human-sized and in poor repair) are scattered around the room. In the corner nearest the secret door, under a pile of furs, is a sack containing the kobold tribe's treasure: 1,735 cp, 1,085 sp, 1,195 ep, and a Spell Scroll containing one magic-user spell: knock. They know about the secret door, and will use it to get behind the player characters (or to escape if necessary). 18 Male Kobolds: AC 13, HD ½ (1d4 HP), #At 1 small spear, Dam 1d4, Mv 20', Sv NM, ML 6, XP 10 ea. HP 2 ☐☐ 4 ☐☐☐☐ 4 ☐☐☐☐ 3 ☐☐☐ 3 ☐☐☐ 3 ☐☐☐ 3 ☐☐☐ 4 ☐☐☐☐ 3 ☐☐☐ 3 ☐☐☐ 2 ☐☐ 2 ☐☐ 3 ☐☐☐ 4 ☐☐☐☐ 3 ☐☐☐ 4 ☐☐☐☐ 2 ☐☐ 3 ☐☐☐ 11 Female Kobolds: AC 13, HD ½ (1d4 HP), #At 1 small spear, Dam 1d4, Mv 20', Sv NM, ML 6, XP 10 ea. HP 2 ☐☐ 4 ☐☐☐☐ 4 ☐☐☐☐ 3 ☐☐☐ 3 ☐☐☐ 3 ☐☐☐ 2 ☐☐ 4 ☐☐☐☐ 2 ☐☐ 1
15. The Hive room
As the adventurers approach the door to this room, read the following: From the door ahead comes a faint humming sound; it becomes more of a buzzing when you get closer. The door is distorted by age and humidity, and hangs partly open. If any character has the nerve to look into the room (opening the door or just peering around the door), read this: Giant bees! You've heard of them, but they are larger than you expected... and they are moving toward you menacingly... The room is lined with a huge lattice of hexagonal wax cells; a giant honeycomb, of course. Most of the cells (85%) contain giant bee honey, while the remainder contain giant bee larva. There is no "royal jelly" here. Upon noticing the adventurers the giant bees will become agitated, attacking on sight and pursuing enemies as far as 60' in any direction. 6 Giant Bees: AC 13, HD ½* (1d4 HP), #At 1 sting, Dam 1d4 + poison, Mv 10' Fly 50', Sv F1, ML 9, XP 13 ea. HP 3 ☐☐☐ 3 ☐☐☐ 2 ☐☐ 2 ☐☐ 2 ☐☐ 4 ☐☐☐☐ 24
16. Rabbit Hole room
If the party approaches this area during daylight hours, read this: As you proceed down the secret hallway, you see a faint light in the distance. You see moving figures silhouetted in the dim light, and you hear deep growls... If it is dark outside when this area is approached, read this: As you proceed down the secret hallway, just beyond the range of your light you see glowing eyes. No sooner have you seen them than you begin hearing deep growling... 5 wolves lair in this area. The door shown hangs partway open, and will not close properly due to warping of the wood and rusting of the hinges. As in the earlier room full of wolves, the floor of this is littered with small bones and scraps of fur, which the wolves have pushed together into nestlike "beds." The litter is noisy to walk on, such that a Thief has a 20% lower chance of Moving Silently through the room. Scattered around the area (and mixed with the wolves' bedding) are 14 cp, 3 sp, 6 gp, 2 pp, and a silver ring set with a small amethyst (100 gp value). The staircase here ascends to a shallow cave opening not far from the ruined bridge; the entrance is covered in undergrowth, so it is unlikely to be
17. The Pits room
The floor of this dark room is covered with damp patches of slime, and the air is filled with a repulsive odor. The room is quiet, but if any characters listen carefully a sound like a boot pulled from sticky mud can be heard. All of the pit traps throughout level 1 drop down to this terrible room, which is inhabited by a gray jelly. To determine which trap door the jelly is closest to, roll 1d6; on a die roll of 1- 2 it is near the east pit, on a die roll of 3-4 it is near the south pit, and on a roll of 5-6 it is near the west pit. In the north wall is a locked stone door with a window set with stone bars opening to room 18. A secret door is located in the north wall, near the east pit. Gray Jelly: AC 12, HD 3, #At 1 pseudopod, Dam 2d8, Mv 1', Sv F3, ML 12, XP 175 HP 12 ☐☐☐☐☐ ☐☐☐☐☐ ☐☐
18. Observation Room room
This small stone chamber is sparsely furnished with a crude wooden bench and an open wooden crate of torches. Three ceramic flasks also rest on the bench. The flasks contain lamp oil. A strong, unlocked wooden door is set into the north wall of this room.
19. Secret Hallway room
This flagstone-lined hallway can be accessed from rooms 17, 20 and 23, as well as from the stairs behind the secret door between rooms 8 and 9 on the first level. It is guarded by 4 giant bombardier beetles; 50% of the time they will be at the other end (opposite or away from the door the characters enter through); the remainder of the time, they will be 10-60 feet away (1d6 x 10). The passageway is thick with dust. A careful check will reveal that the dust has been disturbed recently by a large animal of some sort. There are many scrapes and scratches in the dust. 25 4 Giant Bombardier Beetles: AC 16, HD 2*, #At 1 bite, 1 spray, Dam 1d6 bite, 2d6 spray (cone 10' wide by 10' long from rear of monster, save vs. Death Ray for half damage), Mv 40', Sv F2, ML 8, XP 100 ea. HP 9 ☐☐☐☐☐ ☐☐☐☐ 10 ☐☐☐☐☐ ☐☐☐☐☐ 12 ☐☐☐☐☐ ☐☐☐☐☐ ☐☐ 7 ☐☐☐☐☐ ☐☐
20. Outer Hallway room
This unlit flagstone passage is empty save for a large gray jelly scouring the hallway for odds and ends. Its bulk effectively blocks the passageway, at the intersection (where the number appears on the map). Gray Jelly: AC 12, HD 3*, #At 1, Dam 2d8, Mv 1', Sv F3, ML 12, XP 175 HP 11 ☐☐☐☐☐ ☐☐☐☐☐ ☐
21. Large Hall room
Four braziers are arranged along each side (north and south) of this room, spaced about every 20 feet. The air is foul and smells like an animal cage. The overpowering scent of musk and feces assaults your senses. The soot-coated walls contain the remnants of faded tapestries. The flagstone floor is littered with animal waste and gnawed bones. A long, battered wooden table and overturned benches and chairs occupy the center of the room. At one end of the hall is a large unlit fireplace with an elaborate stone mantle; weird glyphs are carved across the front of it. Several statues of lizard-like men adorn the room, giving it a strange, unreal feeling. Stout wooden doors are set in the west and east walls. With a loud screech, several large, man- shaped figures lurch from the shadows and advance menacingly towards you, murder gleaming in their eyes! The attacking creatures are carnivorous apes. The braziers are, of course, unlit, but they contain charcoal which could be lit to illuminate the room (a flask of lamp oil would be needed for each group of 2d4 braziers to coax the charcoal to ignite). This cannot be completed during a melee, of course. 3 Carnivorou
22. Crossroads Room room
A group of 6 hobgoblins are in this room. They are exploring, and were not expecting to meet any adventurers. Roll for surprise normally when the room is entered. They are also entirely unaware of the gnolls in room 24. Any fighting that takes place in this room will surely warn the gnolls, but they will choose to wait until the battle is over before coming out and attacking the now-weakened victors. 6 Hobgoblins: AC 14, HD 1, #At 1 scimitar, Dam 1d8, Mv 30', Sv F1, ML 8, XP 25 ea. HP 7 ☐☐☐☐☐ ☐☐ 4 ☐☐☐☐ 7 ☐☐☐☐☐ ☐☐ 2 ☐☐ 3 ☐☐☐ 2 ☐☐
23. Secret Room room
This room appears entirely empty, save for a chest in the northeastern corner of the room. The chest rests atop a low wooden platform, ten feet on a side, which appears old and probably quite weak. The chest is, in fact, nailed to the platform. A sensible party will suspect a trap, but in actuality there is no trap here. The chest is locked, but like the platform is quite weak so that it can be easily forced open. Inside is a pile of 362 silver pieces.
24. Gnoll Lair room
When this room is entered, check for surprise as normal. The following text is provided for convenience, but will have to be altered as required by the situation. This room has a foul, musky smell, mixed with the odor of rotting meat. The flickering torchlight reveals a grim chamber full of filth and debris. There are a group of large, hairy humanoids curled up in the corner resting on a pile of rags. Upon entering the room, they lift their heads and sniff the air. With a series of menacing growls, they jump up, grabbing 26 up weapons and bounding across the floor towards you with murder in their eyes! This room contains a pack of gnolls, resting after a long night of debauchery. They are not in the mood to be disturbed. Under a pile of rags in the corner is a small locked wooden chest with the following treasure inside: 1,047 cp, 2,422 sp, and 373 gp. The key to the chest is on the belt of the largest gnoll. 5 Gnolls: AC 15, HD 2, #At 1 battleaxe, Dam 1d8+1, Mv 30', Sv F2, ML 8, XP 75 ea. HP 12 ☐☐☐☐☐ ☐☐☐☐☐ ☐☐ 6 ☐☐☐☐☐ ☐ 10 ☐☐☐☐☐ ☐☐☐☐☐ 8 ☐☐☐☐☐ ☐☐☐ 8 ☐☐☐☐☐ ☐☐☐
25. Weapon Room room
The floor and walls of this room are littered with a wide assortment of weapons in a variety of conditions. Swords, maces, axes and pole arms lie scattered everywhere. All are evidently old, worn and useless. Various tools of warfare hang from decaying racks on the wall or lie on flimsy tables and shelves. In one corner of the room is an old, battered cabinet, locked with a rusty chain and padlock. Several beat-up chests are stacked in another corner; these also appear to be locked. The old weapons are valueless in game terms. There is no key to the locked cabinet; the only way to open it is to bash the door in. Allow this on a 1-2 on 1d6; adjust the range by adding the character's Strength bonus, so that +1 equals 1-3, +2 equals 1-4, and +3 equals 1-5. In the cabinet is a suit of Chain Mail +1 and a Longsword +1. Likewise, there is no key for the locked chests, but they may be smashed with an appropriate blunt weapon such as a warhammer or mace. The chests contain the following weapons in good condition: 3 shortswords, 2 longswords, 3 warhammers, and 16 longbow arrows. Any attempt to break into the cabinet or chests, whether successful or not, will alert
26. Ambush Area room
This area of the hallway is occupied by several foul creatures wrapped in filthy burial garments, hidden within the two small secret rooms. The secret doors include small concealed peepholes allowing the monsters to see into the hallway. As noted above, these creatures will respond, stealthily, if they hear any nearby noise. Otherwise they remain guarding this passageway, waiting until their "prey" has passed the secret doors. If the party does not discover the secret doors (which they are not likely to do), the ghouls will be able to surprise them on 1-4 on 1d6. 5 Ghouls: AC 14, HD 2*, #At 2 claws, 1 bite, Dam 1d4 claw, 1d4 bite (all plus paralysis), Mv 30', Sv F2, ML 9, XP 100 ea. Any character (except an Elf) hit by a ghoul must save vs. Paralysis or be paralyzed 2d4 turns. HP 9 ☐☐☐☐☐ ☐☐☐☐ 5 ☐☐☐☐☐ 9 ☐☐☐☐☐ ☐☐☐☐ 4 ☐☐☐☐ 6 ☐☐☐☐☐ ☐
27. Mural Room room
In the middle of this octagonal room is a waist-high pedestal made of stone. On top of the pedestal is a shallow metal basin, thick with dust. The walls of this room are decorated with murals. To your left and your right, colorfully painted men and women in barbaric garb bow or kneel toward the western exit from the room. Any character touching the murals, including anyone searching for secret doors, must save vs. Spells or be drawn into the mural, becoming immobile parts of the scene. If the basin is examined, ash will be found mixed with the dust. Beneath the basin is a small chamber carved into the pedestal; inside it are several small, irregular chunks of aromatic incense. If a chunk of incense is placed into the basin and burned, all characters trapped within the mural will suddenly be freed. The Game Master may wish to expand on this, placing NPCs or monsters within the mural which would be freed along with any trapped characters. 27
28. The Tomb room
This is the room described in the "Intro Story" in the Basic Fantasy RPG Core Rules. For this reason, your players may recognize it; so, three different versions are presented here! In all cases, the large bronze doors to this room are held with a wizard lock effect (at the 10th level of effect, if a dispel magic is used against it) as well as an ordinary lock (which is of an archaic design that give a bonus of +25% to attempts to pick it). A Spell Scroll containing knock is in the treasure hoard of the kobolds in area 14 on the first level, which might be acquired by the party, though, as described in the intro story, the knock spell alone will not open the doors. Once the doors are opened, read (or paraphrase) the following: As you open the bronze doors you see a large room. Within is a stone sarcophagus, resting atop a raised stone platform. Strewn about the floor are many skeletons; from the shape of the skulls and the length of the long bones you suspect the remains are probably human. The walls are decorated with a mural; the paint has faded and chipped away in places. A thick layer of dust covers everything and the air has a sickening odor of mildew an
28. The Tomb, Standard Version room
If any character chooses to examine the mural, read the following: The mural depicts a great battle, with garishly colored runic markings here and there. If any attempt to open or move the lid to the sarcophagus is made, the skeletal remains of the eleven warriors scattered about the room will animate and attack the intruders. Opening the sarcophagus is treated much like opening a stuck door. If the lid is shoved off the sarcophagus, it falls heavily to the floor and cracks into two pieces. Of course, it can be turned, as described in the intro story, or lifted off by a number of characters having a total Strength of 30 points. If the sarcophagus is opened, read (or paraphrase) the following: 28 Inside the sarcophagus lies the mummified remains of a barbarian chieftain. The corpse is holding a golden longsword in both its bony hands. The sword gleams, untarnished by time. A large ruby is set in the cross-guard. The sword is a Longsword +1, +2 vs. Undead. This fact will not be known until the sword is identified or used in combat (and in the latter case, the +2 vs. undead effect will only be discovered when the wielder strikes undead monsters). A secret compart
28. The Tomb, First Alternate Version room
If any character chooses to examine the mural, read the following: When you look more closely at the mural, you notice a particularly large warrior, standing amid numerous slain enemies with a bloody sword in each hand. His face is hidden within his helm, except for his red glowing eyes. If any attempt is made to open or otherwise tamper with the sarcophagus (more than merely touching it), booming laughter will be heard. One round later, the warrior will step out of the mural and attack, laughing all the time. Painted Warrior: AC 20, HD 5, #At 2 longswords, Dam 1d8 longsword, Mv 40', Sv F5, ML 12, XP 360 HP 25 ☐☐☐☐☐ ☐☐☐☐☐ ☐☐☐☐☐ ☐☐☐☐☐ ☐☐☐☐☐ The bones on the floor are from previous tomb-robbers slain by the painted warrior; their likenesses are displayed in the mural, as the pile of dead men around him. If the warrior is slain, he dissolves into smoke, taking all his equipment with him. Any characters who leave the room will not be pursued, and when no living opponents are left in the room, the warrior will close the doors (which will re-lock, including the wizard lock, automatically) and return to the mural. When the warrior returns to the mural, any characte
28. The Tomb, Second Alternate Version room
If any character chooses to examine the mural, read the following: The walls are decorated with a lurid mural depicting a small group of primitive figures bowing before a great reptilian beast. The mural is painted in garish colors, and runic markings are drawn on the wall at regular intervals. If anyone steps up on the stone platform, an iron portcullis will descend from the doorway, blocking the exit to the room. It will take a combined Strength of 30 to lift the portcullis back up and lock it back in place. This trap may be discovered in the normal way, by detecting traps on either the doorway or the platform. If any attempt to open or move the lid to the sarcophagus is made, a bluish gas will issue from inside. Anyone standing within 10' of the sarcophagus must make a saving throw vs. Poison or become violently ill (and therefore unable to fight and able to move at only half normal speed) for 1d6 rounds. Inside the sarcophagus lies the mummified remains of the chieftain, his arms folded across his chest. He is holding in his bony hands a gleaming, golden longsword untarnished by time. A brilliant emerald is embedded in the cross-guard. If the sword is
NPCs HERE • 0
Add via World pageNo NPCs yet. Use + Add NPC on World Vault and assign to this location.
MAP & PINS • 28
Tap the map to drop a pin — drag pins to move them.
Tip: click anywhere on the map above — the form appears here with coordinates filled in.